How to Install an LED rental screen?
News

How to Installing an LED rental screen?
Installing an LED rental screen requires attention to detail, proper tools, and an understanding of the components. Below is a step-by-step guide for installation:
Step 1: Preparation
1. Survey the Site:
Assess the installation area to determine LED screen dimensions, power requirements, and structural support.
2. Plan the Layout:
Refer to the LED Screen design blueprint or LED display pixel configuration to map out how Rental LED panels should be connected.
3. Check the Equipment:
Ensure all parts (LED panels, LED power supplies, cables, LED Screen controllers, mounting structure) are available and undamaged.
4. Gather Tools:
• Wrenches, screwdrivers
• Multimeter
• Laptop with control software
• Safety equipment (harness, gloves, etc.)
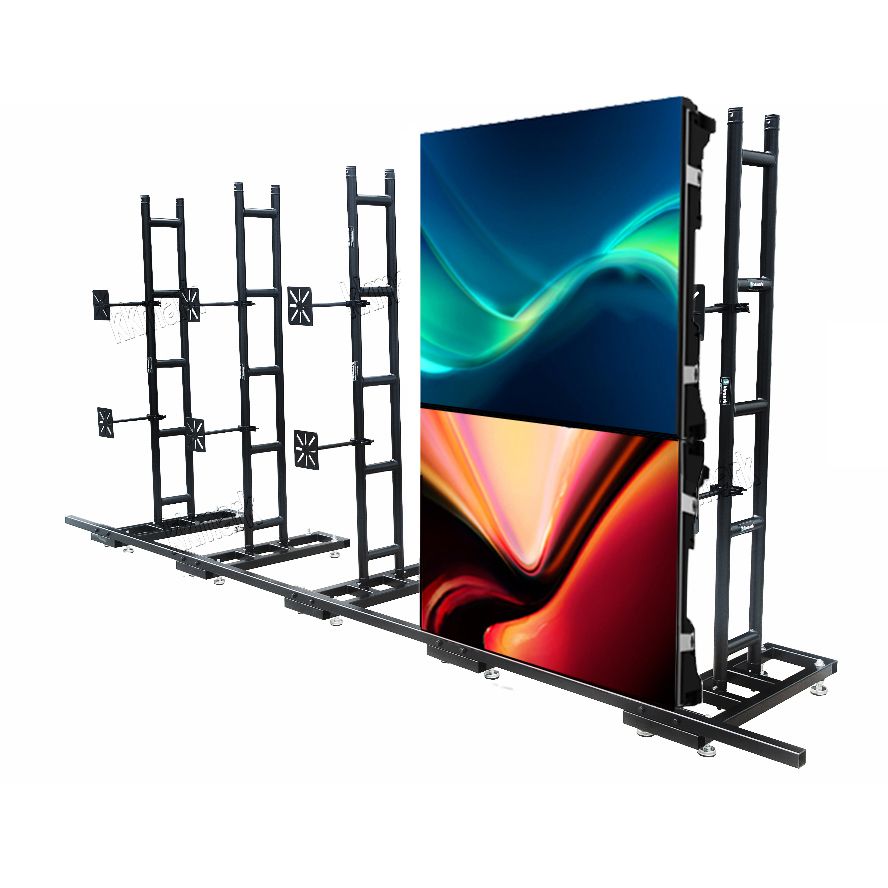
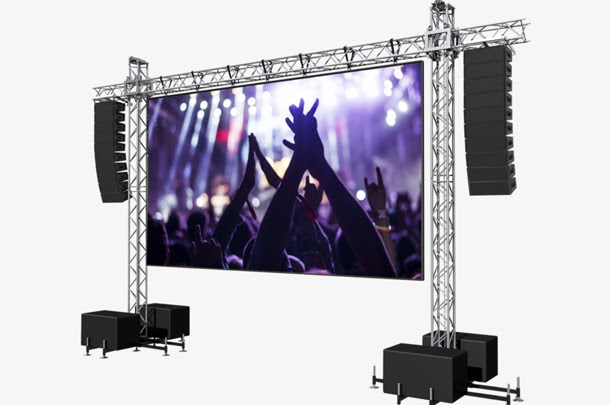
Step 2: Assemble the Mounting Structure
1. Truss or Frame Setup:
Build the supporting structure (e.g., aluminum truss, scaffolding) according to the screen size.
2. Level the Base:
Ensure the structure is stable and perfectly leveled to prevent misalignment of panels.
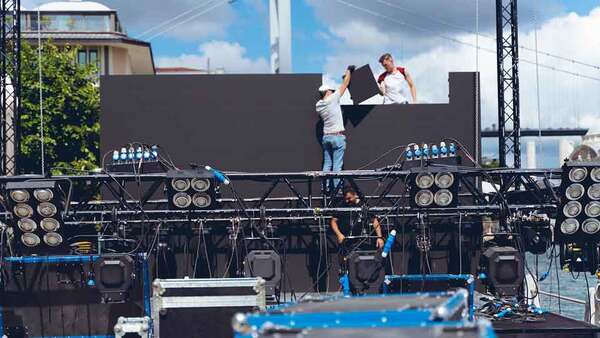
Step 3: Install LED Panels
1. Start from the Bottom Row:
Attach the first row of LED panels to the frame. Use locks or screws to secure them.
2. Stack LED Panels Vertically:
Work row by row, stacking LED panels and ensuring they align properly. Use fasteners or quick-lock mechanisms provided.
3. Cable Management:
Connect power and data cables between panels. Follow the daisy-chain layout specified in the manual.
Step 4: Connect the LED Control System
1. Connect to the Processor:
Attach the LED screen to the LED controller/processor using Ethernet or fiber optic cables.
2. Link to Power Supply:
Ensure stable power connections. Use power distributors if needed to handle voltage and amperage requirements.
3. Test Connectivity:
Power on and check if all panels are functioning. Look for unlit or misaligned modules.
Step 5: Configure the Software
1. Launch LED Control Software:
Use a laptop to configure the display settings (e.g., resolution, refresh rate, brightness).
2. Calibrate Panels:
Adjust color, brightness, and alignment for a seamless display.
3. Load Content:
Test the system by loading and playing sample content.
Step 6: Final Inspection
1. Check Stability:
Ensure all panels and structures are securely fastened.
2. Test Performance:
Play content for an extended period to confirm stability and image quality.
3. Secure Cables:
Bundle cables neatly to avoid tripping hazards or damage.
Additional Tips
• Always follow the manufacturer’s manual for specific installation instructions.
• Ensure proper ventilation to prevent overheating.
• Have a professional technician inspect the setup if the screen is large or complex.
Let me know if you need further clarification!
 Send Email
 18027665203
 Absinled